***This is a post I wrote BEFORE I decided to take a break from this blog, so, it's 9 months old, but, ready to be posted!***
As I took a look at the kids' art closet, I sighed, looked away, and almost just closed the doors right away.
BUT. I didn't.
I took a deep, close look at the chaos going on in there and decided to fix it. But, boy, what a disorganized mess it was!! I realized that the main problem was that, we didn't have enough containers to put items in. For instance, all the glue and tape was in multiple places; the markers overflowed in the container we had, therefore, spilling out everywhere; the paints and glitter did not have a container and a true home, the "little" things were in multiple bins and hard to find, etc, etc, etc. It really was: CHAOS.
I scoured around the house for bins and did find a few, but, fell short of the exact amount I needed. That's when I started to get a little creative
I looked around the house at what I ALREADY HAVE (and/or, what I was going to recycle!) and made some super frugal art containers!!
I scoured around the house for bins and did find a few, but, fell short of the exact amount I needed. That's when I started to get a little creative
I looked around the house at what I ALREADY HAVE (and/or, what I was going to recycle!) and made some super frugal art containers!!
Here's a few things I found around the house, that I re-purposed, to use as storage containers in the kids' art closet:
1. Red Vines Licorice Container (and yes, I'm sure I ate most of the contents inside. Not all in one sitting, though.)
1. Red Vines Licorice Container (and yes, I'm sure I ate most of the contents inside. Not all in one sitting, though.)

- I made this into a sort-of art project for the kids. Every morning after breakfast we do an "activity" and this was a fun one for them! I let them do whatever they wanted to do, and this is what it looked like:

2. Plastic Milk Container

- This was super EASY-PEASY. Grab a pair of scissors, poke a hole where you want to start the cutting, and cut away! Once I cut off the top, I washed the bottom half, and, we used this to store pieces of fabric, felt and ribbon

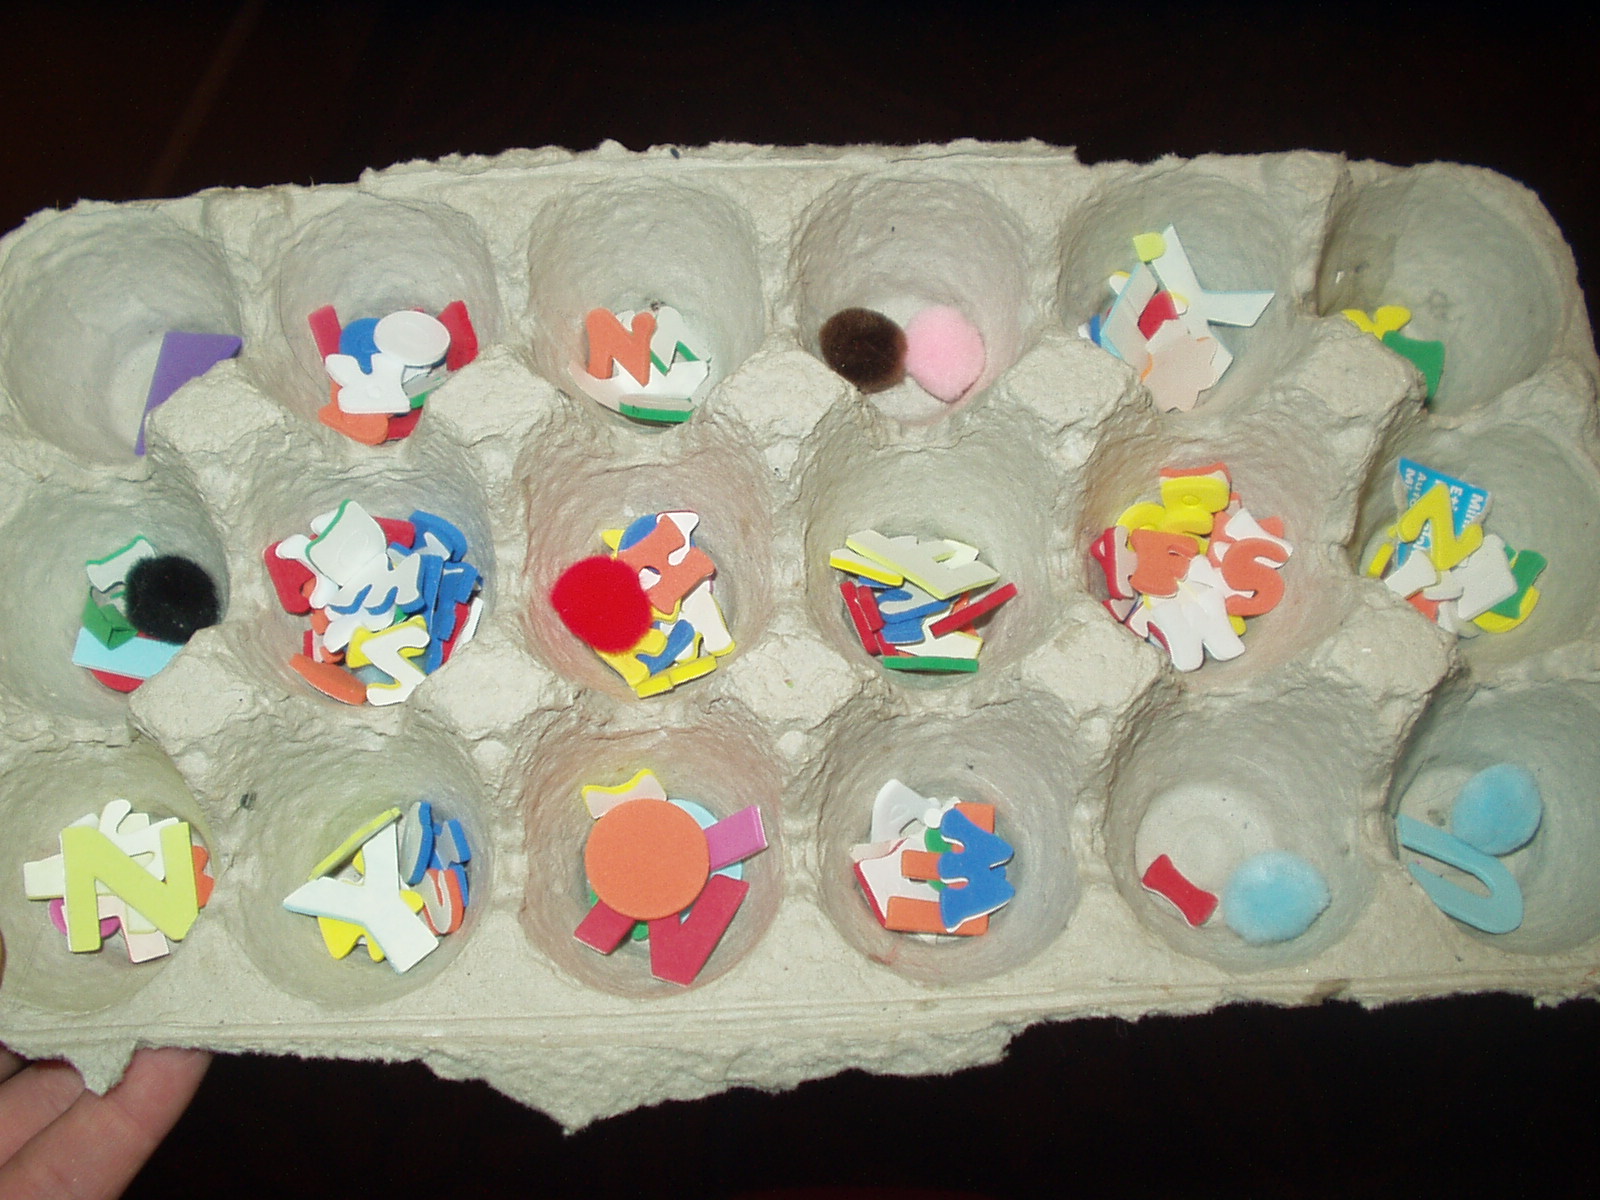
3. Egg Carton

- This worked well to house a lot of our little things!
4. Sour Cream/Yogurt/Cottage Cheese Containers


- These worked great for Pens, Markers, Scissors, and Glue Sticks. If I were really motivated, I would decorate the outside with paper and Modge Podge, but, this'll do for now!! :-)
Other ideas not shown:
- Glass jars---These work well, because you can see-through them to see their contents
- Coffee Tins
- Baby Food Jars (Great for the itsy-bitsy stuff!)
- Envelopes--Just write on the front the contents that are inside
- Yogurt containers
No comments:
Post a Comment